Autumn Dog Photography: Adding Off-Camera Flash to the Mix
Autumn provides a wonderful backdrop for location-based dog portrait photography. Golden leaves, warm earthy tones, soft natural light and woodland scenery can create some beautiful opportunities. But what happens when you want to introduce off-camera flash into the equation? Can you add a little artificial light without losing the natural atmosphere that makes autumn photography so appealing?
Absolutely. The trick is knowing how to use it.
Photography Is Subjective, Not a Rule Book
Photography is subjective, and we all have different tastes, preferences and approaches to creating an image. Personally, I enjoy using off-camera flash in my photography because it gives me greater control over the light, allowing me to shape and direct it rather than simply accepting whatever the weather decides to throw at me.
This article is intended as a practical guide based on my own experience, not a rule book that must be followed to the letter. Photography would be rather dull if we all followed the same rules, used the same lighting setups and produced identical images. Besides, the dogs would probably get bored waiting for us to finish setting everything up!
In my experience, photographing dogs outdoors is quite different from photographing horses, particularly when it comes to choosing lighting modifiers.
Horses are considerably larger animals, so hard, directional light can work exceptionally well, depending on the look I’m trying to achieve. Modifiers such as Long Throw and Magnum reflectors are particularly useful for equine photography because they produce a more focused, directional quality of light while delivering plenty of output over distance. Their relatively compact designs can also be advantageous when working outdoors, where wind has a habit of turning an expensive lighting modifier into an impromptu sail.
That’s not to say I always use hard light with horses. Softboxes certainly have their place in my equine work, too. The choice ultimately depends on the subject, the environment and the style of image I’m trying to create.
With dog photography, however, I often take a slightly different approach.
Choosing the Right Light for Autumn
Autumn woodland environments are full of beautiful colours, from golden yellows and burnt oranges to rich browns and deep earthy tones. These colours provide a wonderful backdrop for dog portraits, particularly when the aim is to create an image that feels natural and atmospheric.
Because dogs are considerably smaller than horses, a more compact lighting setup can be both practical and effective.
One combination I particularly like is the Godox AD300 paired with a Godox SD-A85S softbox. It’s a manageable setup in terms of size and weight, while offering the quality of light I want for this type of photography.
When double-diffused, the Godox SD-A85S produces soft, pleasing illumination that can complement the gentle atmosphere of an autumn woodland.
The aim isn’t necessarily to make the dog look as though it’s been plucked from the woodland and placed under a spotlight. Instead, I want the lighting to feel as though the dog belongs in the scene.
Using a harder modifier, such as a Magnum or Long Throw reflector, would produce a very different result. The light would generally be more concentrated and directional, potentially creating stronger highlights and more pronounced shadows.
Neither approach is inherently right or wrong. They’re simply different ways of interpreting the same scene.
Sometimes, dramatic hard light is exactly what an image needs. On other occasions, a softer approach works better. The important thing is understanding what each modifier brings to the photograph rather than assuming that one is automatically superior to another.
Soft Light Doesn’t Have to Mean Flat Light
There’s an important distinction between soft light and flat light.
A double-diffused Godox SD-A85S can produce beautifully soft illumination, but softness alone doesn’t guarantee a successful portrait. Where you position the light is just as important as the modifier you’re using.
If you position a softbox too close to the camera axis, or illuminate the subject too evenly from the front, you can lose some of the shadows that help define the dog’s shape. The result may be a well-exposed photograph, but one that lacks depth and dimension.
In other words, the dog might look perfectly lovely, but a little like it’s been photographed for a passport.
To avoid this, I pay close attention to the direction of the light. I want enough directional modelling to reveal the contours of the face, the texture of the coat and the shape of the body, while retaining the softness that suits the woodland environment.
A 45-degree lighting angle is often a useful starting point, but it’s certainly not a rule. Try moving the light further around the subject, perhaps towards 90 degrees, and observe how the shadows and highlights change.
You may discover that a more side-on position produces a much more interesting result. Alternatively, it might create shadows that are too deep for the look you’re after.
That’s the beauty of working with off-camera flash: you can experiment, make adjustments and see how each change affects the image.
Just remember that the dog may have considerably less patience for your lighting experiments than you do!
Let the Background Guide Your Lighting Choices
When working with a single light, I find it helpful to assess the background before deciding which modifier to use and where to position it.
This is particularly important in woodland environments, where the background often plays a significant role in the overall atmosphere of the photograph.
Unlike a studio backdrop, woodland is rarely uniform. During autumn, it may contain warm foliage, scattered highlights, dark tree trunks, patches of shade and layers of detail extending into the distance.
All these elements contribute to the character of the image.
Introducing a hard light source can create a strong visual impact on the dog, but there’s a risk that the subject’s illumination will compete with the background rather than complement it.
A harder source may be exactly what you want if you’re aiming for a dramatic portrait with strong contrast and a more stylised appearance. However, if your intention is to preserve the soft, painterly quality of the woodland, a diffused source may be a better choice.
This is where the 85 cm Godox SD-A85S becomes particularly useful. It allows me to control the illumination on the dog independently of the ambient light, helping me balance the subject with the surrounding environment.
When everything comes together, the lighting serves several purposes:
- The background provides atmosphere. The warm autumn colours and woodland textures establish the setting and create visual interest.
- The flash helps separate the subject. Carefully controlled illumination can draw attention to the dog without making it look disconnected from its surroundings.
- Soft light preserves the character of the coat. It can help reveal texture while keeping highlights and shadows pleasing.
- Directional light maintains three-dimensional form. Thoughtful positioning creates depth and definition rather than illuminating everything uniformly.
The goal is to achieve a balance in which the dog remains the main subject, while the woodland retains its beautiful golden, painterly quality.
Ideally, the viewer notices the dog first and appreciates the lighting second. If their immediate reaction is to wonder whether you’ve brought a portable film studio into the woods, you may have gone a little too far!
The Dog’s Coat Makes a Difference
There’s another important consideration when choosing your lighting approach: the colour and texture of the dog’s coat.
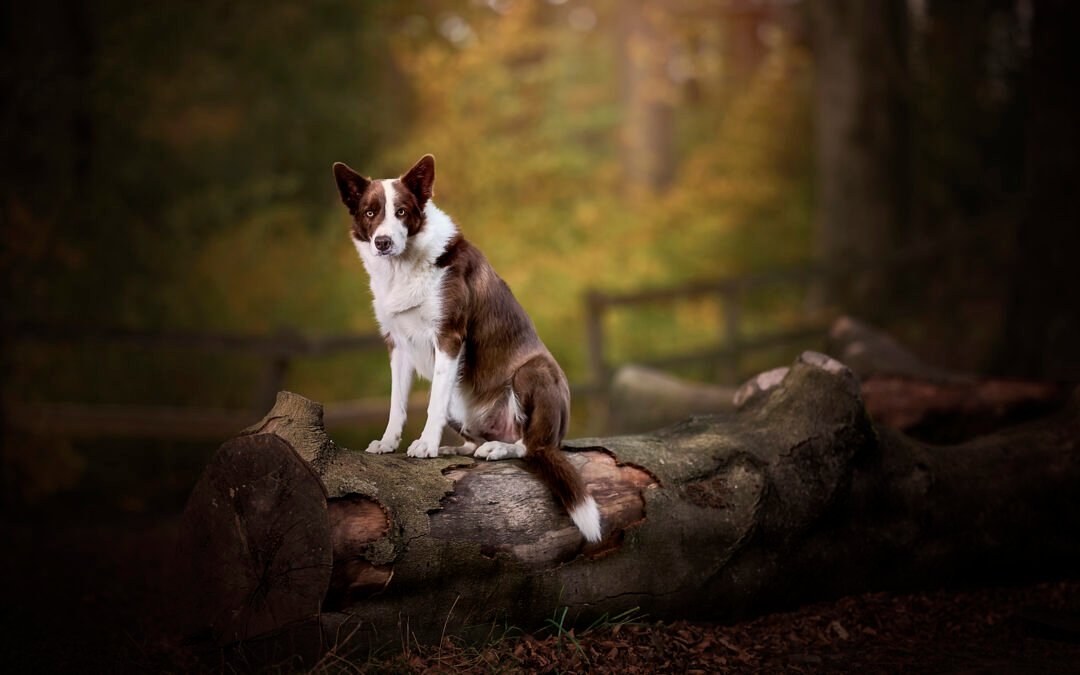
Let’s take Rio as an example.
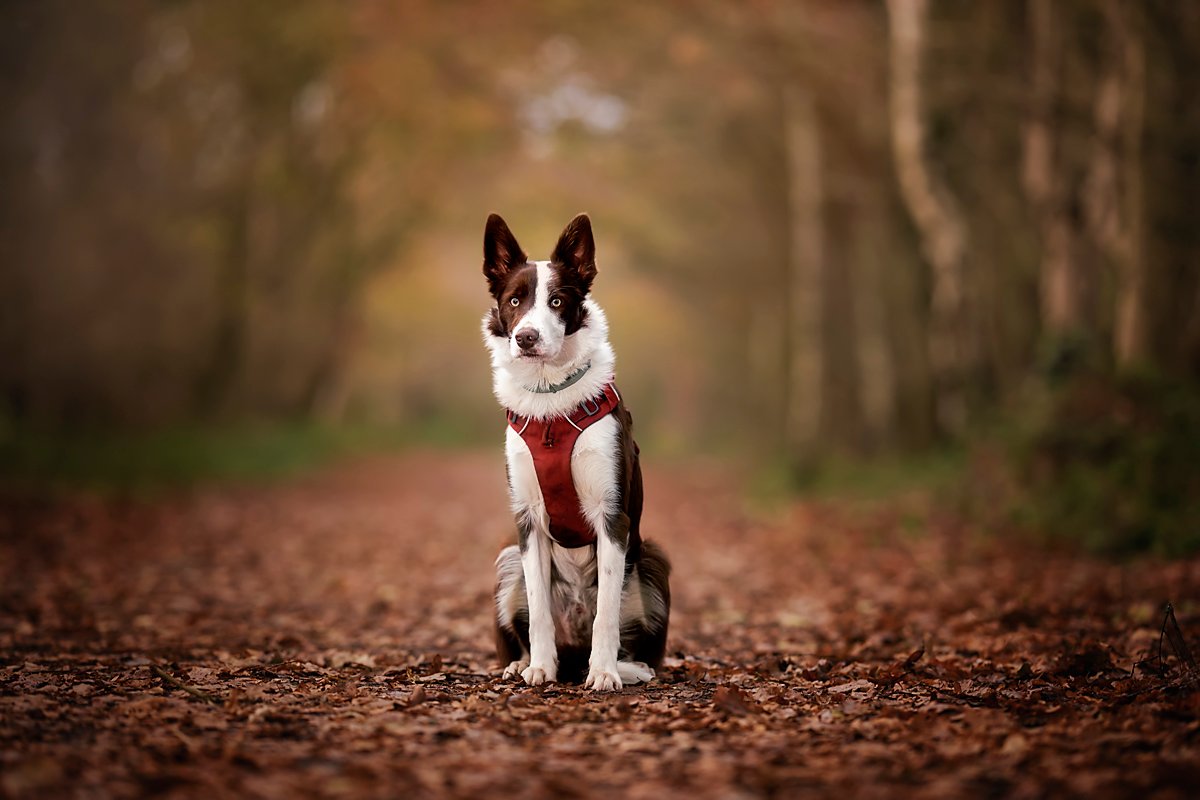
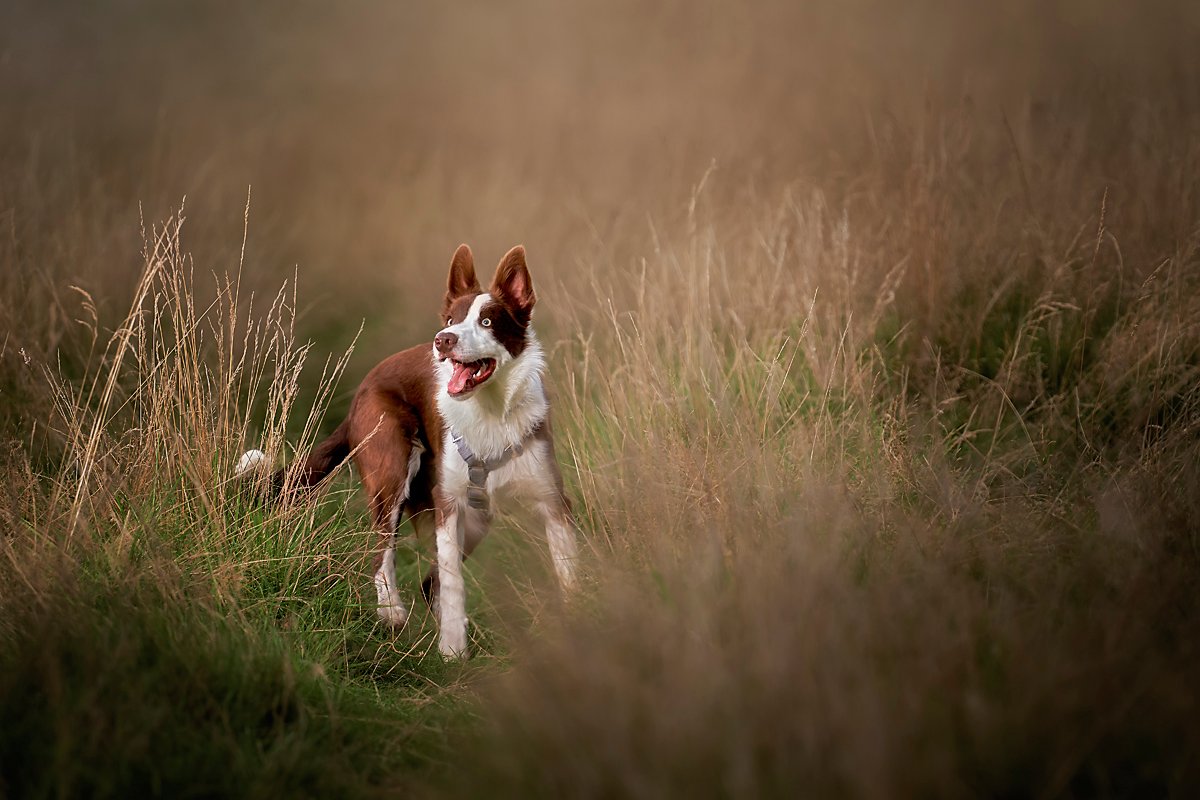
In this photograph, Rio’s white chest and facial markings are considerably brighter than the brown fur across his body. These contrasting tones create an interesting challenge when introducing artificial light.
With a relatively hard light source, the brighter areas of the coat can become visually dominant, particularly if the light is positioned to reflect strongly off the white fur. Meanwhile, shadows around the body and between areas of fur may become more pronounced.
That doesn’t mean hard light will automatically cause blown highlights. Exposure, flash power, light placement, the angle of incidence and the reflective properties of the coat all play a part.
A skilled photographer can use hard light successfully on a dog with a predominantly white coat. Equally, soft light can produce unflattering results if it’s positioned poorly or the exposure isn’t controlled.
However, a diffused modifier such as the Godox SD-A85S can make it easier to achieve a pleasing balance between the lighter and darker areas of the coat.
In Rio’s portrait, the white chest is prominent but retains texture and detail. The brown fur across his back and flanks is also sufficiently illuminated to reveal its texture and character.
This balance matters because a dog’s coat isn’t simply a block of colour. There’s texture, shape and detail that contribute to the character of the animal. Good lighting should help reveal those qualities rather than overwhelm them.
Ultimately, the aim is to illuminate the dog in a way that suits both the individual animal and the environment in which you’re photographing it.
After all, Rio should be the star of the photograph, not his white chest!